How to run a shell script over images with Automator
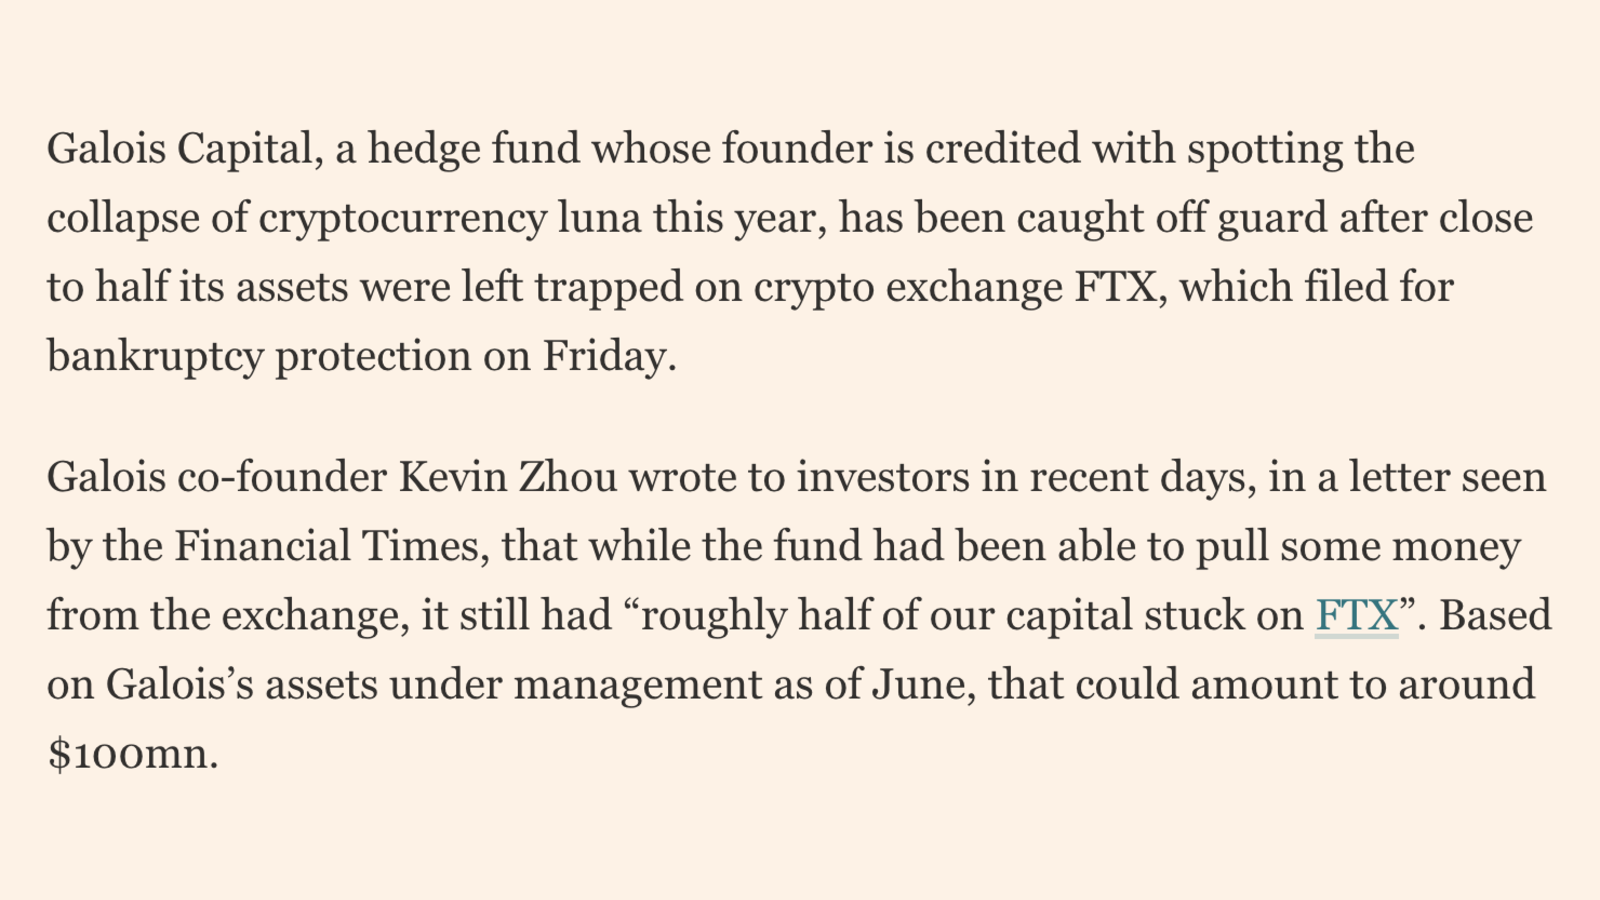
When posting screenshots of text to Twitter sometimes the thumbnail gets messed up and clips the content making it unreadable without clicking to expand.
I was using a handy script I’d put together that leverages ImageMagick to resize any image to 1600x900px, which is the optimal size for Twitter feeds.
The script also uses ImageMagick’s histogram feature to fill in any empty space using the dominant color of the image. This is expecially hand when clipping text that has a background other than white, like the Financial Times.
Executing the script is what this post is about.
Firing up the command line, looking for the image and running the script with the image path as an argument is tedious.
It’d be much nicer if we could right click an image or a selection of images and resize them right in Finder.
Enter Automator.
Automator allows us to create a “Quick Action” which can be accessed using a right-click of a mouse or a two-fingered click of the trackpad.
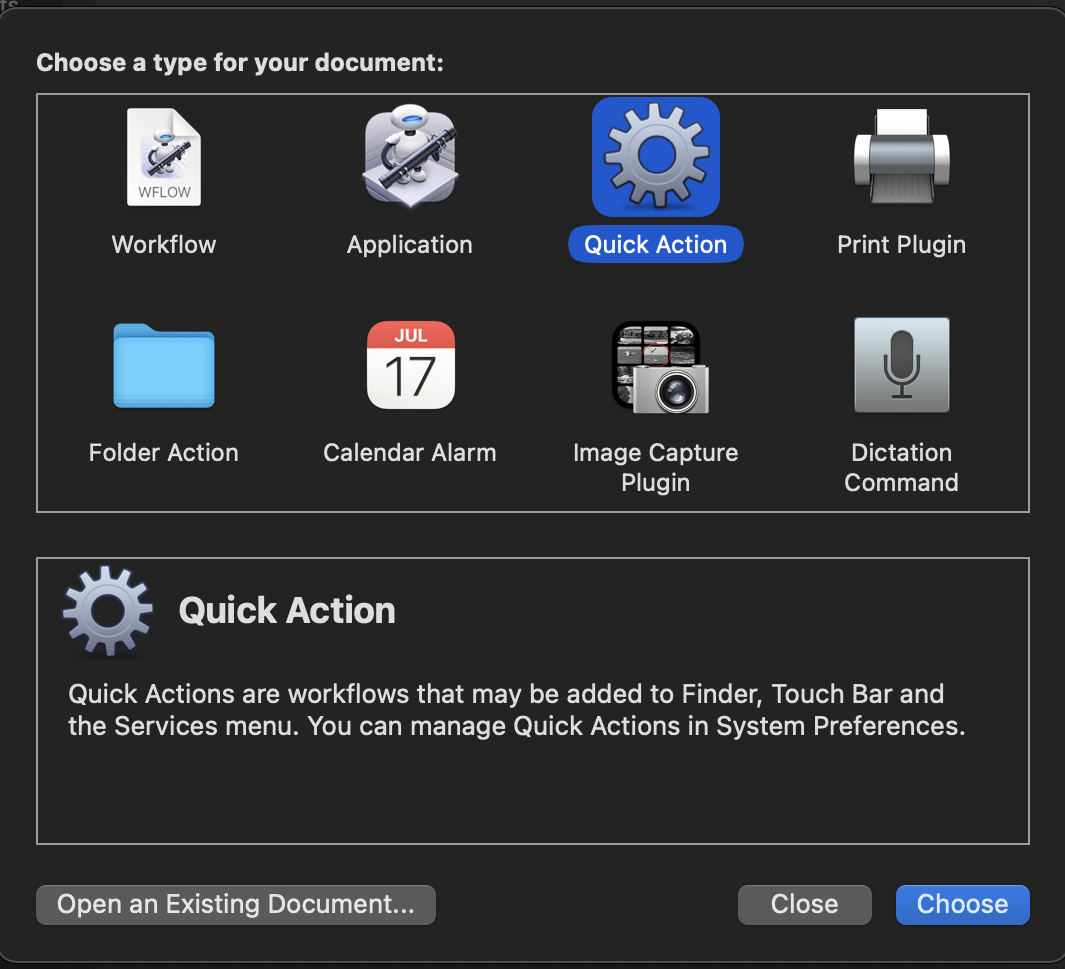
In the workflow options we will select:
- Workflow receives current “Image files” in “any application”
- Choose any “Image”
- Choose any “Color”
Then in the Actions side-menu we will search for “Run Shell Script” and drag it into our workflow.
For the Shell I’ve selected “/bin/bash” and for Pass Input “as arguments”.
I then paste in my script from before.
The workflow then looks like this:

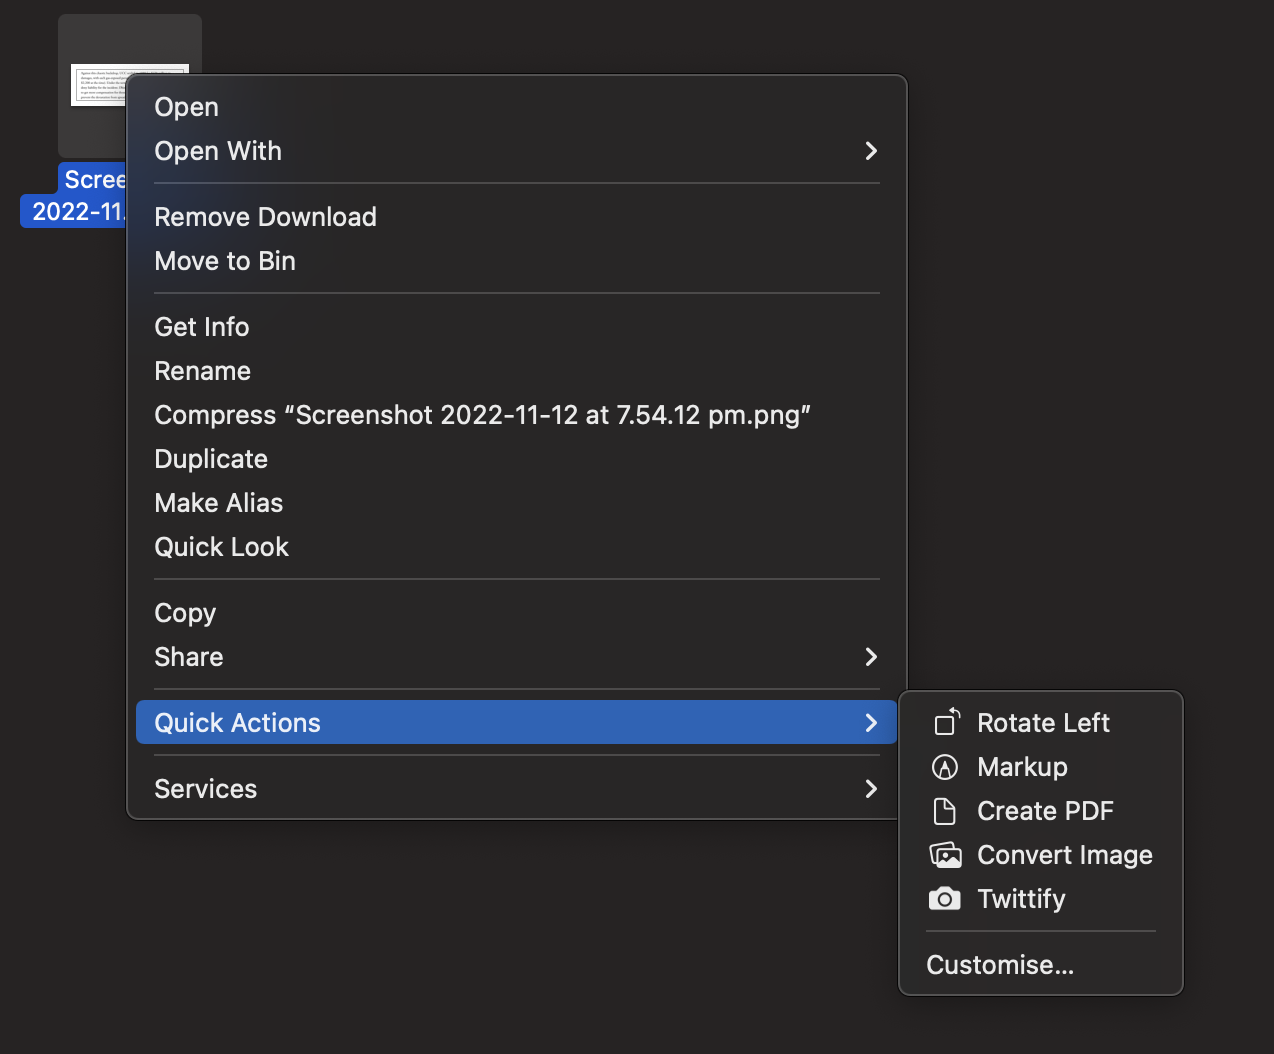
Then once we save the Quick Action becomes available in our conext menu:
An example of the resize:
Before

After