Local Rails Development with Docker and Docker Compose
This is just a quick overview of using Docker and Docker Compose to spin up a solid development environment.
Assumptions
- You’re using OSX
- You have Docker for OSX installed
- You have ruby and the rails 5.0+ gem installed
That said, this should work on both Linux and Windows without any issues.
Create an empty rails application
First we need a rails application to test our Docker environment with, so run rails new myapp to create a skeleton application and change into the new myapp directory.
$ rails new myapp

create
create README.md
create Rakefile
create config.ru
create .gitignore
create Gemfile
run git init from "." Initialized empty Git repository in /Users/ashleyconnor/Sandbox/docker/rails/myapp/.git/
create app
#... more output, truncated for brevity
Bundle complete! 16 Gemfile dependencies, 70 gems now installed.
Use `bundle info [gemname]` to see where a bundled gem is installed.
run bundle exec spring binstub --all

- bin/rake: spring inserted
- bin/rails: spring inserted

$ cd myapp
Creating a Dockerfile
Docker uses Dockerfiles as a blueprint to build images. This file will describe how we want the image to function both at build time and runtime.
To create a Dockerfile simply initialise an empty file with the name Dockerfile.
Open this new file with your favourite text editor and add the following lines:
FROM ruby:2.3-alpine
MAINTAINER [email protected]
FROM specifies which Base Image we want to build from. I’ve chosen the ruby image version 2.3-alpine. 2.3 is the ruby language version and alpine refers to Alpine Linux which is a lean Linux distribution that helps keep our Docker images small.
A full choice of ruby versions and distro varients can be found on Dockerhub.
Next we need to install some dependecies that will help us install rails gems that require native extensions such as the postgresql gem.
ENV DEV_PACKAGES="build-base ruby-dev zlib-dev libxml2-dev libxslt-dev tzdata yaml-dev sqlite-dev" \
 RAILS_PACKAGES="nodejs"

RUN apk --update --upgrade add $RAILS_PACKAGES $DEV_PACKAGESENVsets environment variables (key=value) which we can use in later instructions or the container itselfRUNallows us to run any command. Here we are using Alpine Linux’s dependency managment toolapk(similar toaptandyumon other distros) to install our required packages
Next we create our working directories and copy in our Gemfile so we can install our project’s dependencies:
RUN mkdir -p /app
WORKDIR /app

COPY Gemfile Gemfile.lock ./
RUN gem install bundler && bundle install --jobs 20 --retry 5

COPY . ./
There are several instructions here so let’s break it down:
- First we are creating an
appdirectory that will hold our rails project WORKDIRsets up the working directory for any instructions that followCOPYcopy our Gemfiles from our host’s current directory to the working directory of our container- Then we install
bundlerand all our gems - Finally - we copy over our entire current directory and place the files in the Docker image’s work directory
We finish our Dockerfile adding these two lines:
EXPOSE 3000

CMD ["bin/rails", "server", "-b", "0.0.0.0"]EXPOSEinforms Docker that the container is listening for requests on the specified port, this port is not yet accessible by the host- There can only be one
CMDentry per Dockerfile which is the default unless it is overridden
Building the Docker image
We can now build our image:
$ docker build --tag myapp .
Sending build context to Docker daemon 148.5kB
Step 1/12 : FROM ruby:2.4-alpine
---> 3ac55aa07ac8
Step 2/12 : MAINTAINER [email protected]
Step 3/12 : ENV DEV_PACKAGES "ruby-dev build-base zlib-dev libxml2-dev libxslt-dev tzdata yaml-dev sqlite-dev" RAILS_PACKAGES "nodejs"
Removing intermediate container 43f551d6e757
Step 4/12 : RUN apk --update --upgrade add $RAILS_PACKAGES $DEV_PACKAGES
OK: 236 MiB in 62 packages
Removing intermediate container df6e11174623
Step 5/12 : RUN mkdir -p /app
Step 6/12 : WORKDIR /app
Step 7/12 : COPY Gemfile Gemfile.lock ./
Step 8/12 : RUN gem install bundler && bundle install --jobs 20 --retry 5
Successfully installed bundler-1.15.3
1 gem installed
Fetching gem metadata from https://rubygems.org/.............
Fetching version metadata from https://rubygems.org/...
Fetching dependency metadata from https://rubygems.org/..
Fetching rake 12.0.0
#...truncated
Step 9/12 : COPY . ./
Step 10/12 : EXPOSE 3000
Step 11/12 : ENTRYPOINT bundle exec
Step 12/12 : CMD bin/rails server -b 0.0.0.0
Removing intermediate container 083b456c574e
Successfully built 01ad850b1657
Successfully tagged myapp:latest
And test it by running the rails server command:
$ docker run -it myapp "bin/rails server"
=> Booting Puma
=> Rails 5.1.2 application starting in development on http://localhost:3000
=> Run `rails server -h` for more startup options
Puma starting in single mode...

- Version 3.9.1 (ruby 2.4.1-p111), codename: Private Caller
- Min threads: 5, max threads: 5
- Environment: development
- Listening on tcp://0.0.0.0:3000
  Use Ctrl-C to stop
However if we attempt to connect to the container http://localhost:3000 it won’t work because we haven’t mapped the container’s port to a port on our host.
We can do this by adding the P flag.
$ docker run -itP myapp "bin/rails server"The P flag binds the exposed ports on the container to random unpriviledged ports on the host. To get this random port we can run the docker ps command.
$ docker ps

CONTAINER ID IMAGE COMMAND CREATED STATUS PORTS NAMES
3a72e6eb6325 myapp "bundle exec 'bin/..." 2 minutes ago Up 2 minutes 0.0.0.0:32776->3000/tcp awesome_golick
Here we can see our myapp container port 3000 has mapped to our host port 32776. So if we visit http://localhost:32776 we can see the rails default home.

Sharing code between container and host
Let’s modify the default page with a “Hello World” to demonstrate how we can modify code on our host and have that run on our new container.
You may be tempted to run a rails g command from your host, but we can run one off commands in another docker container like so:
$ docker run -it myapp bin/rails generate controller Welcome index
Running via Spring preloader in process 24
create /controllers/welcome_controller.rb
route get 'welcome/index'
invoke erb
create /views/welcome
create /views/welcome/index.html.erb
invoke test_unit
create test/controllers/welcome_controller_test.rb
invoke helper
create /helpers/welcome_helper.rb
invoke test_unit
invoke assets
invoke coffee
create /assets/javascripts/welcome.coffee
invoke scss
create /assets/stylesheets/welcome.scss
After this command has finished, the container terminates.
But wait. The files we just generated aren’t available on our host filesystem.
If we ls myapp’s app/controller directory we would expect to find a file called /controllers/welcome_controller.rb but it’s not there.
This is because we’ve yet to setup a shared filesystem between our host and container. So any modifications we make to the filesystem in our container are disgarded when the container terminates.
To fix this we can use a Docker concept called volumes, which is a way to “mount” a host (or another container) directory to your container.
Let’s try this with our myapp container:
$ docker run -itP -v $(pwd):/app myapp bin/rails generate controller Welcome index
Running via Spring preloader in process 24
create /controllers/welcome_controller.rb
route get 'welcome/index'
invoke erb
create /views/welcome
create /views/welcome/index.html.erb
invoke test_unit
create test/controllers/welcome_controller_test.rb
invoke helper
create /helpers/welcome_helper.rb
invoke test_unit
invoke assets
invoke coffee
create /assets/javascripts/welcome.coffee
invoke scss
create /assets/stylesheets/welcome.scss
The important difference here is: -v $(pwd):/app - which tells docker to mount the current working directory to a folder on the container at /app.
Now if we run the same ls app/controllers command we will see our generated controller welcome_controller.rb.
Let’s edit the application’s routes.rb to use our new Welcome Controller.
Rails.application.routes.draw do
root 'welcome#index'
end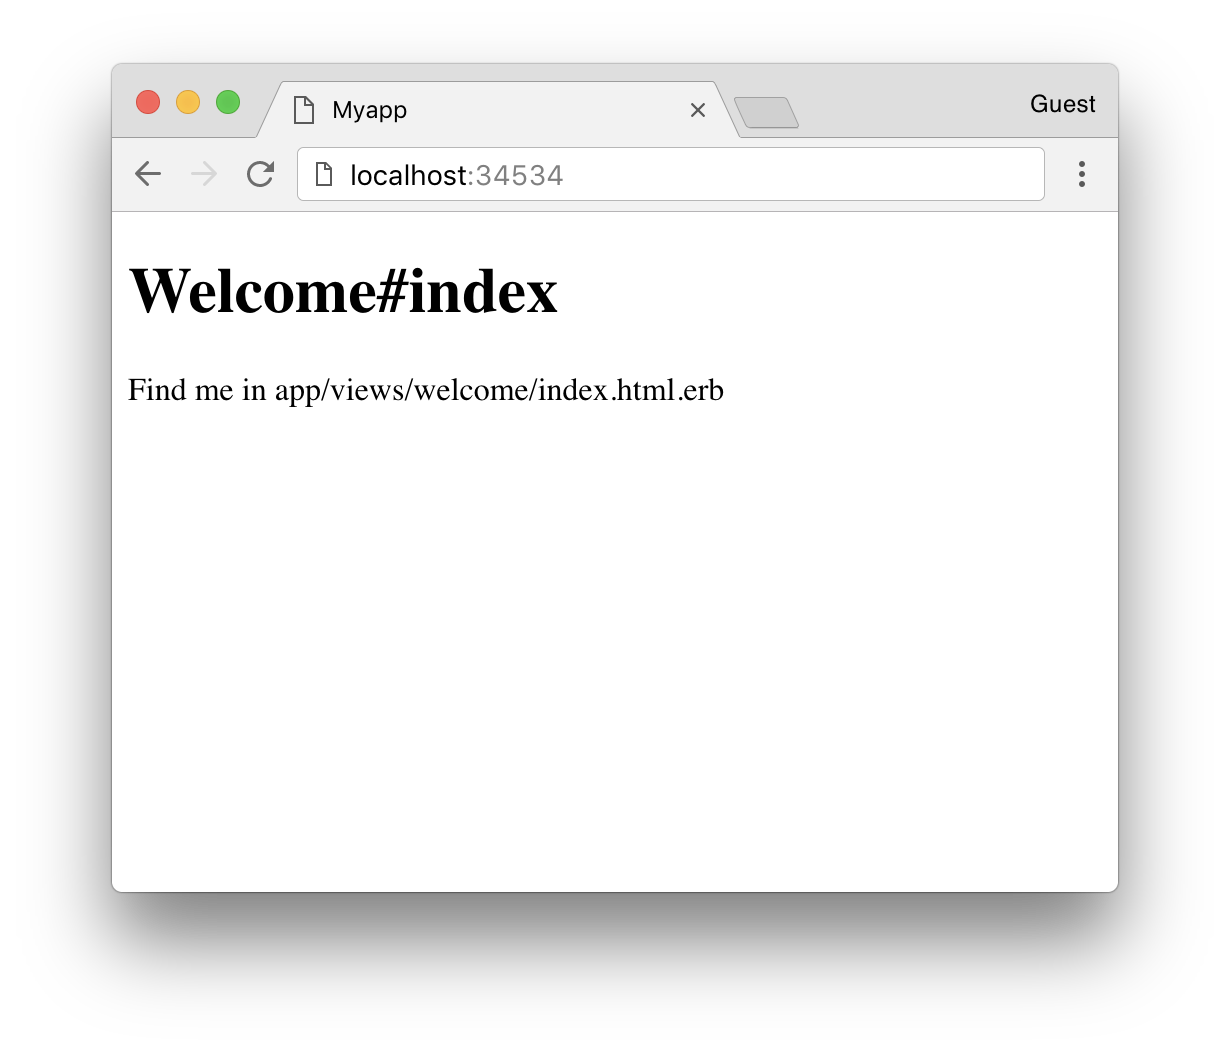
Using Postgres as our database
Right now our application is using SQLite as the database which isn’t ideal as it probably differs to what we are using in production. It’d be great if we could run Postgres in another container and allow our rails application to use that.
To do this we need to make a network so our containers can communicate with each other:
$ docker network create --driver=bridge my-network
176719a6344541ed444f45f6c3e1815edfef215ef9aa6ee437aafcc9e5c43808
Let’s run a Postgres container in another terminal and have it use our new network:
$ docker run -itP -v $(pwd):/app --net=my-network --name=db postgres:9.6Docker will pull the image if you don’t have it already.
Notice we also gave the container a name db. This makes it easier to connect the containers together.
To switch to Postgres we need to make several changes:
First we need to rebuild our dockerimage to include the Postgres development dependencies.
In our Dockerfile we need to replace sqlite-dev with postgresql-dev and rebuild our image using $ docker build --tag myapp ..
We also need to update our Gemfile to use the pg gem. To do that replace gem 'sqlite3' with gem 'pg'.
Finally, let’s modify our application’s config/database.yml file to use postgres:
default: &default
adapter: postgresql
encoding: unicode
host: db
username: postgres
password:
pool: 5

development:
<<: \*default
database: myapp_development

test:
<<: \*default
database: myapp_test

production:
<<: \*default
database: myapp
Notice that the host entry is populated with our container name db.
Then run the Postgres container like so:
$ docker run -it --net=my-network --name=db postgres:9.6We can run the rails server on the same network:
$ docker run -itP -v $(pwd):/app --net=my-network --name=rails myapp bin/rails serverIf you get an error like docker: Error response from daemon: Conflict. The container name "/rails" is already in use. simply remove the container using the name by running docker rm $containerId - where $containerId is the ID output in the error.
Both containers are now running, but since we don’t have any database specific code in our application, let’s just create the empty databases in Postgres via rake to confirm that things are working.
$ docker run -it --net=my-network myapp bin/rake db:create
Running via Spring preloader in process 25
Created database 'myapp_development'
Created database 'myapp_test'
It works!
docker-compose
It can be tedious to manually run multiple commands in different terminals in order to get containers to communicate together. Luckily there’s a better way. Enter docker-compose.
Docker compose allows us to create a single configuration file describing how we want our containers to be wired togther.
To do this, create a docker-compose.yml file in the same directory as your Dockerfile.
version: '3'
services:
db:
image: postgres:9.6
volumes: - ./data/postgresql:/var/lib/postgresql/data
web:
build: .
command: bin/rails server -p 3000 -b '0.0.0.0' # this is redundant as it the container's default command
volumes: - .:/app
ports: - "3000:3000"
depends_on: - db
Let’s look at what we have specified under the services key.
First, we specify our container name db and what image it should use. This is followed by a volumes array which contains only one volume. This maps Postgres’ data volume to the host directory data/postgres.
We do this to prevent the Postgres container from losing all of its stored data when the container restarts.
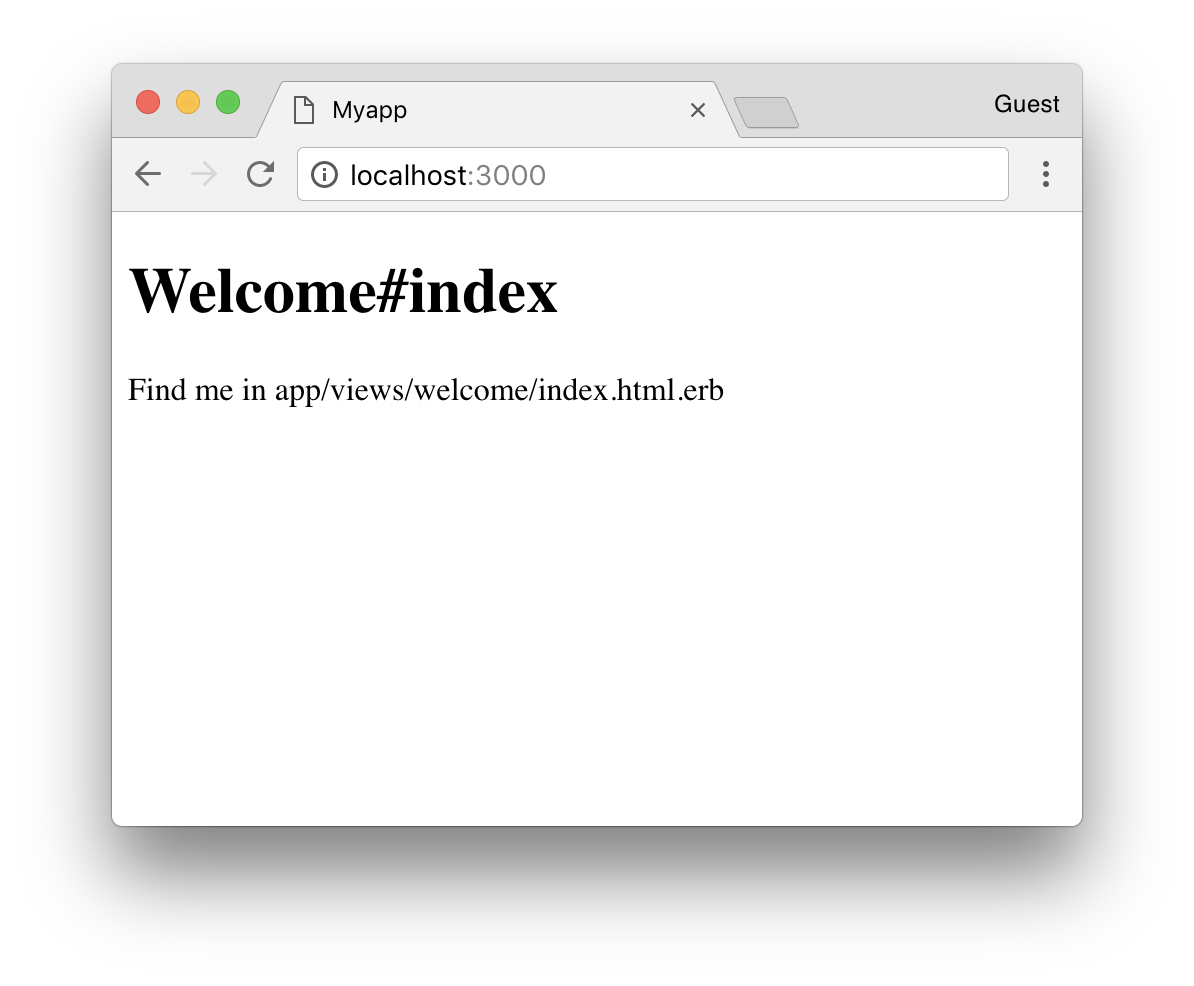
Next is the web container, this is pretty much the same as it was before with the exception of a mapping of port 3000 on the host, to 3000 on the container. No more docker ps to find out what port our app is running on. It will always be http://localhost:3000.
Finally, we add a dependency on db which takes care of the connectivity between the two containers.
Now we can run our docker-compose file:
$ docker-compose up
Creating network "myapp_default" with the default driver
Building web

# build output omitted

db_1 | selecting default max_connections ... 100
db_1 | selecting default shared_buffers ... 128MB
db_1 | selecting dynamic shared memory implementation ... posix
db_1 | creating configuration files ... ok
db_1 | running bootstrap script ... ok
web_1 | => Booting Puma
web_1 | => Rails 5.1.2 application starting in development on http://0.0.0.0:3000
web_1 | => Run `rails server -h` for more startup options
web_1 | Puma starting in single mode...
Docker compose has built our image and is now running that image along with a Postgres container, linking them both together. We can see the output streaming from containers in the console.
To stop all our containers we can run:
$ docker-compose stop
Stopping myapp_web_1 ... done
Stopping myapp_db_1 ... done
Adding Redis for ActionCable
Action Cable was shipped with Rails v5.0 allowing applications to take advantage of websockets.
When used in development Action Cable can use the sync driver but when we move into production it’s recommended that we use Redis.
Personally, I think that development environments should be as close as possible to production. This can reduce those last minute environmental issues.
With that said, let’s expand our docker-compose file to make use of redis:
version: '3'
services:
db:
image: postgres:9.6
volumes: - ./data/postgresql:/var/lib/postgresql/data
redis:
image: redis:3.2
web:
build: .
command: bin/rails server -p 3000 -b '0.0.0.0'
volumes: - .:/app
ports: - "3000:3000"
depends_on: - db - redis
We need to make one change in our config/cable.yml to connect to redis:
default: &default
adapter: redis
url: redis://redis:6379/1

development:
<<: \*default
channel_prefix: myapp_development

test:
<<: \*default
channel_prefix: myapp_test

production:
<<: \*default
channel_prefix: myapp_production
Now if we run $ docker-compose up we will see redis also booting - along side our app and database.
That’s it! See how easy it is to add new services to our application?
Useful commands
We’ve seen how to run one-off tasks using docker. So here’s a few commands I’ve found useful:
docker-compose run redis redis-cli -h redis- start a redis-cli and connect to our redis containerdocker-compose run db psql -h db -U postgres- connect psql to our running databasedocker-compose run web bin/rails console- open a rails console (works for any rails command)